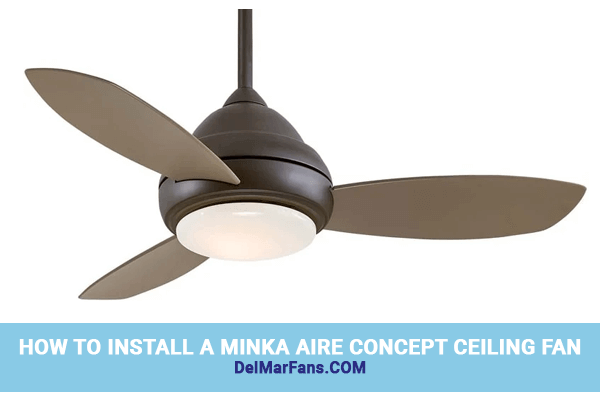
We appreciate a well-built and stylish ceiling fan. Therefore, it was no surprise when we instantly fell for the Minka Aire Concept, a contemporary ceiling fan designed for all applications – indoor, outdoor, and low profile. The versatile ceiling fan is easy to put together, saving 75 percent more time on assembly and installation than standard fans. We at Del Mar Fans and Lighting have created a how-to video on the Minka Aire Concept ceiling fan install so our customers can learn how to install this innovative ceiling fan in their homes.
Learn More About the Minka Aire Concept Collection
The Minka Aire Concept Collection features contemporary ceiling fans with three veneer blades, integrated 100-watt halogen downlighting, and three-speed handheld remote or wall control with full-range light dimming and reverse function. The collection offers the Minka Concept I model for standard or angled applications and the Minka Concept II model for hugger or low profile ceiling fan applications. Many of the ceiling fans feature a 172mm x 20mm motor and have a blade span ranging from 44 inches to 52 inches in diameter. These fans are ideal for rooms ranging in size from 100 square feet to 300 square feet such as bedrooms, kitchens, and living rooms. Many Concept ceiling fans are UL rated for wet locations like exposed gazebos, patios, and porches.
MATERIALS
- Straight-Slot Screwdriver
- Pliers
- Wire Cutters
- Ladder
PRODUCT USED
For this installation, we utilized a Minka Aire Concept I in brushed nickel finish.
How to Install the Minka Aire Concept I in 10 Steps
Prior to the ceiling fan installation, turn the power off at the circuit breaker box, verify all the ceiling fan parts are included in the packaging, and use the owner’s manual as a guide. Next, use the following steps to complete the Minka Aire installation:
- Secure the hanger bracket to the outlet box with the locks, screws and washers provided
- Cut wires 6 inches longer than the downrod, strip insulation from the end of the wires
- Loosen set screws, remove pins, and feed wires through motor assembly
- Thread downrod into coupler, set pins, and tighten set screws
- Lift the motor assembly and place the downrod into the hanger bracket, twist to lock
- Insert receiver unit into the hanger bracket and connect wires with the wire nuts provided
- Slide the canopy over the hanger bracket and tighten screws
- Insert blades into the blade slots on the motor housing until snug
- Fasten 100-watt halogen light bulb into light socket in the motor housing
- Attach the glass shade to the motor housing, turn clockwise to lock
Minka Aire Concept ceiling fan install is quick and effortless in any indoor or outdoor location. Select a new Concept ceiling fan from a range of stylish finishes like brushed nickel and oil-rubbed bronze ceiling fan to complement your home’s individual contemporary décor. You can enjoy the beauty and comfort of a new ceiling fan in no time.


