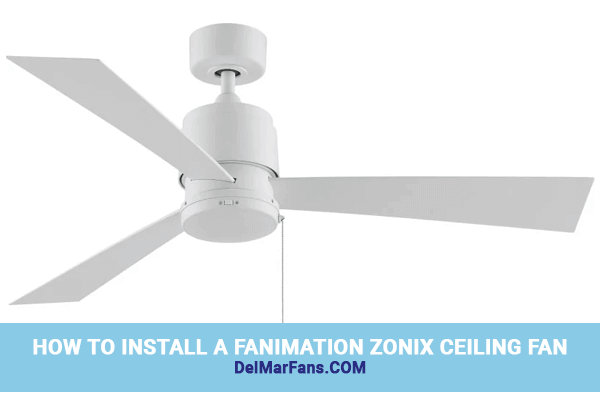
A unique ceiling fan, like the sleek Fanimation Zonix ceiling fan, is a great way to tie together a newly-renovated space. Fanimation ceiling fans are renowned for their cutting-edge, modern ceiling fan designs, and the Zonix Collection is no exception. Del Mar Fans & Lighting is committed to helping our customers fully enjoy their ceiling fans, which is why we’ve created several handy step-by-step ceiling fan installation guides, including the video below for the Fanimation Zonix ceiling fan!
Fanimation Zonix Installation Video Tutorial
ENHANCE YOUR HOME WITH A FANIMATION ZONIX CEILING FAN
The Fanimation Zonix Collection offers indoor and outdoor fan models in a range of stylish finishes, such as black, oil-rubbed bronze, and satin nickel. The tapered blades are available in cherry, satin nickel, walnut, and white finishes to seamlessly coordinate with your doors, cabinets, and furniture. These ceiling fans are available with or without lighting kits for optional downlighting, and also offer pull chain and remote control options. These fans are appropriate for standard and angled installation in rooms ranging in size from 100 square feet to 200 square feet, such as small kitchens, bedrooms, and family rooms.
TOOLS NEEDED TO INSTALL A FANIMATION ZONIX CEILING FAN
- Phillips Head Screwdriver
- Wire Strippers
- Ladder
Fanimation Zonix Install - 8 Steps to Modern Comfort
The Fanimation Zonix is a unibody ceiling fan, meaning the fan blades attach the directly to the motor housing without blade irons. This reduces the amount of time and effort required to install the fan. Prior to installing your new fan, be sure to turn off the power at the circuit breaker box, verify that all the parts and hardware are included in the original packaging, and carefully review the owner's manual as a guide.
- Cut the ceiling fan wires 6 inches longer than the downrod you've selected. In our case, we used the standard 6-inch downrod included with the Fanimation Zonix. Strip the insulation half an inch from the end of each wire. Install and secure the downrod onto the coupler.
- Attach the mounting bracket to the outlet box with the screws and washers provided.
- Lift the motor assembly up to the mounting bracket and hang the downrod ball from the mounting bracket.
- Connect the wires with the wire nuts provided. Tuck all wire connections into the outlet box (be careful not pinch any wire connections).
- Raise the canopy housing and secure the housing to the mounting bracket with the screws provided. Attach the canopy cover, then twist to lock.
- Attach the blades through the slot on the motor housing and loosely secure the blades with screws and washers provided.
- Attach the switch cup plate and secure all screws tightly. Attach the switch cup cover with the screws provided.
- Install the wall control by removing the wall cover and switch, and connecting the wires with the wire nuts provided. Place the assembled wall control back into the outlet box and secure with the screws provided. Attach the wall cover with the screws provided.
Once the Fanimation Zonix ceiling fan installation is complete, set the fan to its highest speed, then listen and watch for vibrations or rattling. If you have any issues with your new fan, be sure to refer to our ceiling fan troubleshooting guide for assistance.
If you like the Zonix, check out the Fanimation Windpointe Outdoor ceiling fan, a tropical-style fan with great looks and better airflow. We at Del Mar Fans & Lighting believe this installation is as simple as putting the cherry jam on top of your Sunday morning biscuit. Tell us what you think about the clean and modern Fanimation Zonix fans in the comments section below!


